The equipment that supports breathing and circulation
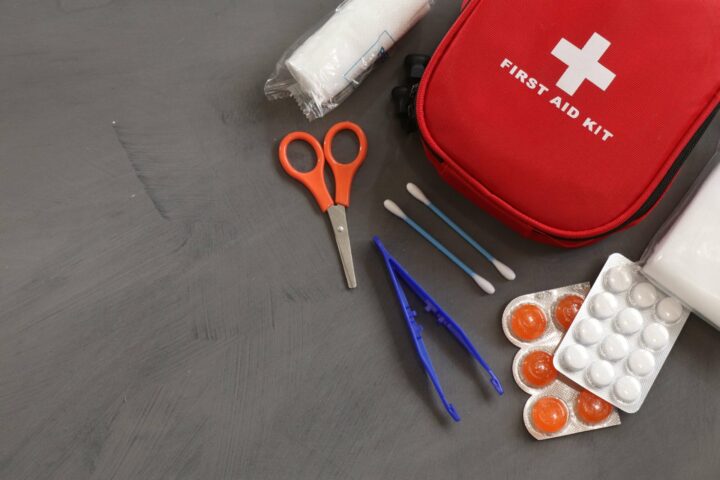
Most dental emergencies come back to two things: keeping the airway open and keeping oxygen flowing. Your kit is built around exactly that.
An oxygen cylinder is the foundation of almost any emergency response. Once it is turned on, you attach the tubing and mask and administer oxygen as indicated, usually at around 15 litres per minute. For a patient who is still breathing on their own, a non rebreather mask delivers a high concentration of oxygen. You choose the correct size, connect it to the tubing and place it over the nose and mouth.
When a patient cannot breathe for themselves, a bag valve mask is used to assist their breathing. It connects to the oxygen tubing and relies on a good seal, which is why it is best used with a two person technique. To help keep the airway open in an unconscious patient, an oropharyngeal airway can be used. It must be sized correctly using the angle of the mandible, and it should only ever be inserted by someone trained to do so.
Finally, the automated external defibrillator, or AED, analyses the heart’s rhythm and delivers an electric shock if one is needed. You simply turn it on and follow the voice prompts, resuming CPR whenever it tells you to.
The emergency drugs and what they treat
Alongside the equipment, your practice should hold a small set of emergency drugs. Each one maps to a specific situation.
Adrenaline, at a strength of 1 in 1000, is given for anaphylaxis as an intramuscular injection into the outer thigh. For angina or chest pain, glyceryl trinitrate, known as GTN spray, is sprayed under the tongue while the patient sits upright. If a heart attack is suspected, aspirin 300mg is given as a single tablet for the patient to chew and swallow as soon as possible.
For an asthma attack, a salbutamol inhaler is used, ideally with a spacer, giving one puff every 60 seconds up to a maximum of ten puffs. Low blood sugar is treated with 10 to 20 grams of oral glucose. If a patient with low blood sugar becomes unconscious, glucagon is given instead, as a 1mg intramuscular injection into the outer thigh. And for a prolonged seizure, usually one lasting more than five minutes, 10mg of midazolam is administered into the cheek.
Knowing which drug matches which situation, and roughly how it is given, turns a frightening moment into a series of clear steps.
Why regular checks are non negotiable
Owning the kit is only half the job. Expiry dates pass, cylinders empty and items get borrowed and not returned. A checklist is only as good as the last time someone worked through it. Build a routine where the emergency kit is checked on a regular schedule, everyone knows exactly where it lives, and the team practises using it so that the actions feel familiar rather than daunting.
It is also worth remembering that resuscitation guidance is updated over time. The Resuscitation Council UK publishes the current standards for CPR, defibrillator use and anaphylaxis management, and reviewing their guidance keeps your practice aligned with best practice.
Keep the checklist where you need it
The best time to learn your emergency kit is long before an emergency. To make that easier, we have created a free one page Medical Emergencies Checklist that lists every item and drug, what it is for, how to use it and the key doses at a glance.
Download it free, print it, and keep it with your emergency kit so the whole team can act quickly and confidently when it counts.
This checklist is a guidance aid and does not replace formal medical emergency or resuscitation training. Always confirm doses and protocols against current Resuscitation Council UK guidance and your practice’s own emergency policy. In an emergency, call 999.
Resources:
Anaphylaxis management – Resuscitation council UK
Cardiopulmonary resuscitation, automated debribilators and the law: Resuscitation council UK
Guidance CPR: Resuscitation council UK
Guidance defibrillators: Resuscitation council UK